LVT Expansion Gaps Explained for Your Home
Learn why LVT expansion gaps matter, where they go and how skilled fitting keeps your Norfolk floor stable, smart and comfortable in every Norfolk home.
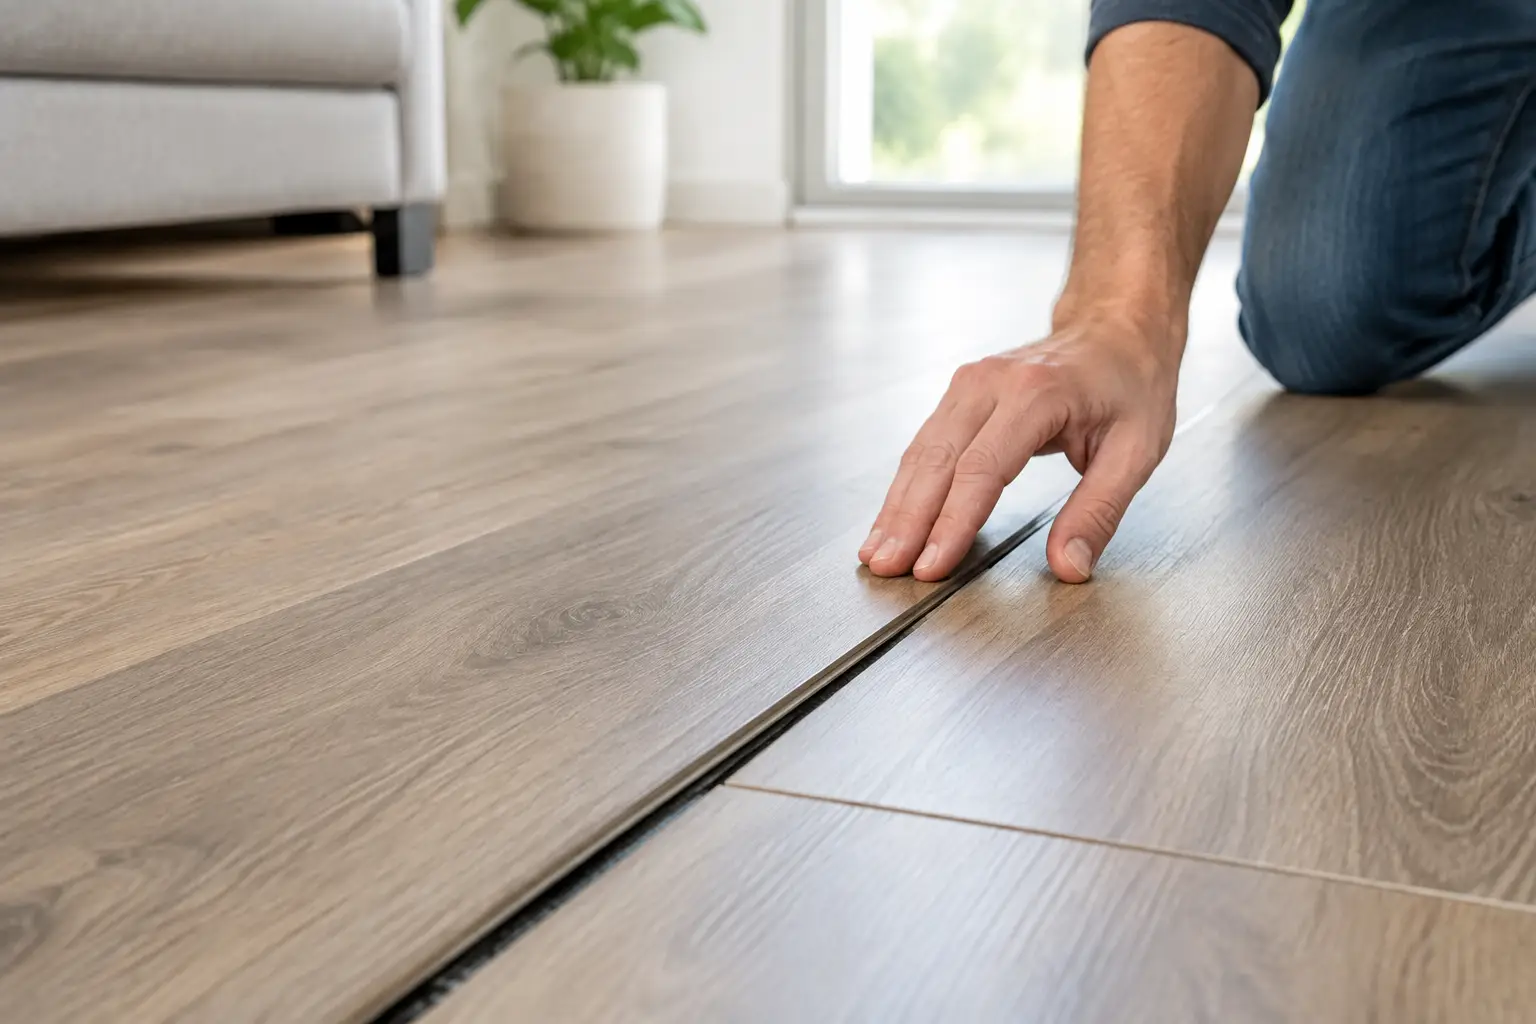
A new LVT floor should sit beautifully against your skirting, door frames and kitchen edges - but it should not be trapped there. LVT expansion gaps are the small, carefully planned spaces that give certain types of luxury vinyl tile room to respond to changes in temperature and everyday conditions. They may be out of sight once the job is finished, but getting them right can make a real difference to how your floor looks and performs over time.
For most homeowners, this is not something you need to measure or worry about yourself. It is one of those fitting details that separates a floor that simply looks good on day one from one that stays neat, secure and cosy through changing seasons.
Why LVT expansion gaps matter
Luxury vinyl tile is known for being hard-wearing, comfortable underfoot and wonderfully convincing in wood and stone-effect designs. Like many flooring products, though, some LVT systems can move slightly as room temperatures rise and fall. Sunlight through patio doors, underfloor heating, a cooler hallway and even a warm summer spell can all affect the conditions around the floor.
An expansion gap leaves a little breathing room around the outside of a floating LVT floor. Without it, the planks or tiles can press against walls, thresholds or fixed units. If the floor has nowhere to go, that pressure may cause lifting, peaking, opening joints or a less-than-perfect finish around the edges.
The gap is normally concealed beneath skirting, scotia or suitable trim, so it should not leave your room looking unfinished. Think of it as practical planning rather than a visible compromise. Your floor gets the space it needs, while the finished room still has those clean, smart lines everyone wants.
How much space do LVT expansion gaps need?
There is no single measurement that suits every LVT product. The correct allowance depends on the manufacturer’s fitting instructions, the construction of the LVT, the room size and the conditions in the property. Many click or rigid-core LVT ranges require a perimeter gap, often somewhere around 5mm to 10mm, but the instructions supplied with the exact product should always lead the decision.
That point matters because LVT is not all fitted in the same way. A large open-plan kitchen and living space may need different consideration from a compact bedroom. A home with full-height south-facing glazing can behave differently from a shaded Victorian terrace. The fitter also needs to consider whether the floor runs through adjoining rooms, meets different floor coverings or continues beneath a doorway.
The perimeter is not the only place to consider
Expansion space is usually needed wherever a floating floor meets something fixed. That can include walls, hearths, pipes, stair edges, door frames, kitchen islands and fitted furniture. It is easy to focus on the four walls of a room, but a floor can become restricted by any fixed point in its path.
Doorways deserve particular care. If LVT runs from one area into another, the fitter may need to use a suitable transition or movement break, especially across larger areas or where rooms have different temperatures. This is not about adding unnecessary strips to a floor. It is about following the system correctly so the finish remains stable.
If heavy fitted units are being installed, the order of work matters too. Floating LVT should not usually be pinned beneath kitchen cabinets or other fixed furniture, because the weight can stop it moving as designed. Your installer can advise on the best sequence for your room, which may mean fitting the units first and flooring neatly up to them.
Click LVT and glue-down LVT are different
This is where advice can become confusing online. People often talk about “LVT” as though every product behaves in exactly the same way, but fitting methods vary.
Click LVT, including many rigid-core options, is commonly installed as a floating floor. The pieces lock together and sit over a properly prepared subfloor rather than being permanently bonded across the entire surface. This is the type most likely to require LVT expansion gaps around the perimeter and at fixed objects.
Glue-down LVT is adhered directly to the prepared subfloor using the specified adhesive. Because it is bonded in place, its edge requirements may differ, and a standard floating-floor expansion gap is not automatically appropriate. The product instructions and adhesive system are the guide here. Trying to apply one rule to every LVT floor can lead to a poor result.
It also depends on the manufacturer’s requirements for conservatories, rooms with strong direct sunlight and underfloor heating. Some products are better suited to these settings than others, and temperature limits may apply. Choosing a lovely plank colour is only part of the decision - selecting a product and fitting method that suit your actual room is what protects the investment.
Good preparation makes the gaps work properly
An expansion gap cannot compensate for an uneven, damp or poorly prepared subfloor. LVT shows up imperfections more readily than many people expect, particularly in daylight across a long hallway or open living area. The subfloor needs to be clean, dry, sound and suitably smooth before fitting begins.
A professional fitter will assess the room before installation, including floor levels, moisture risk, existing thresholds and any awkward details around fireplaces, pipes or door linings. They can also plan the layout so narrow cuts are avoided where possible and the plank direction complements the shape and light of the room.
The finishing details matter just as much. Skirting may be removed and refitted where appropriate, or a neat finishing trim may be used to cover the perimeter allowance. Door frames can sometimes be undercut so the LVT slips beneath them rather than being forced tightly against them. Done well, these practical steps keep the gap hidden without squeezing the floor.
Signs an LVT floor may be too tight
If an existing floating LVT floor starts to buckle, rise at a joint or feel as though it is pushing against a wall, it may not have enough room to move. Other clues include joints that look stressed, edges lifting near thresholds or a change that appears after a spell of warm weather.
That said, not every issue is caused by missing expansion room. Moisture, an unsuitable subfloor, adhesive problems, damage, excessive heat or incorrect cleaning products can all affect flooring. A proper inspection is far more useful than guessing from one visible symptom.
Avoid cutting back an edge or removing trim without understanding how the floor was installed. It may help in some circumstances, but it can also make a tidy repair more difficult if the underlying cause has not been identified.
Plan the fitting around your real home
The best time to think about expansion gaps is before the LVT is ordered and fitted. During a home visit, it is easier to see where sunlight lands, where the floor meets other rooms and whether kitchen units, appliances or new skirting are part of the project. It also means you can compare physical samples against your own paint colours, furniture and lighting rather than making a decision under showroom lights.
Cosy Carpets & Flooring can help you choose an LVT style that suits both the look of your home and the practical demands of the room, then manage the measuring and fitting details with care. You get a clear plan, a clear quote and an installation that does not leave the important bits to chance.
A well-fitted LVT floor should feel effortless once it is down. Give it the right product, proper preparation and the small amount of space it needs at the edges, and you can simply get on with enjoying a smart, comfortable room for years to come.