LVT Installation Checklist for a Cosy, Lasting Floor
Use this LVT installation checklist to prepare your room, protect your new floor and understand what your professional fitter handles on the day at home.
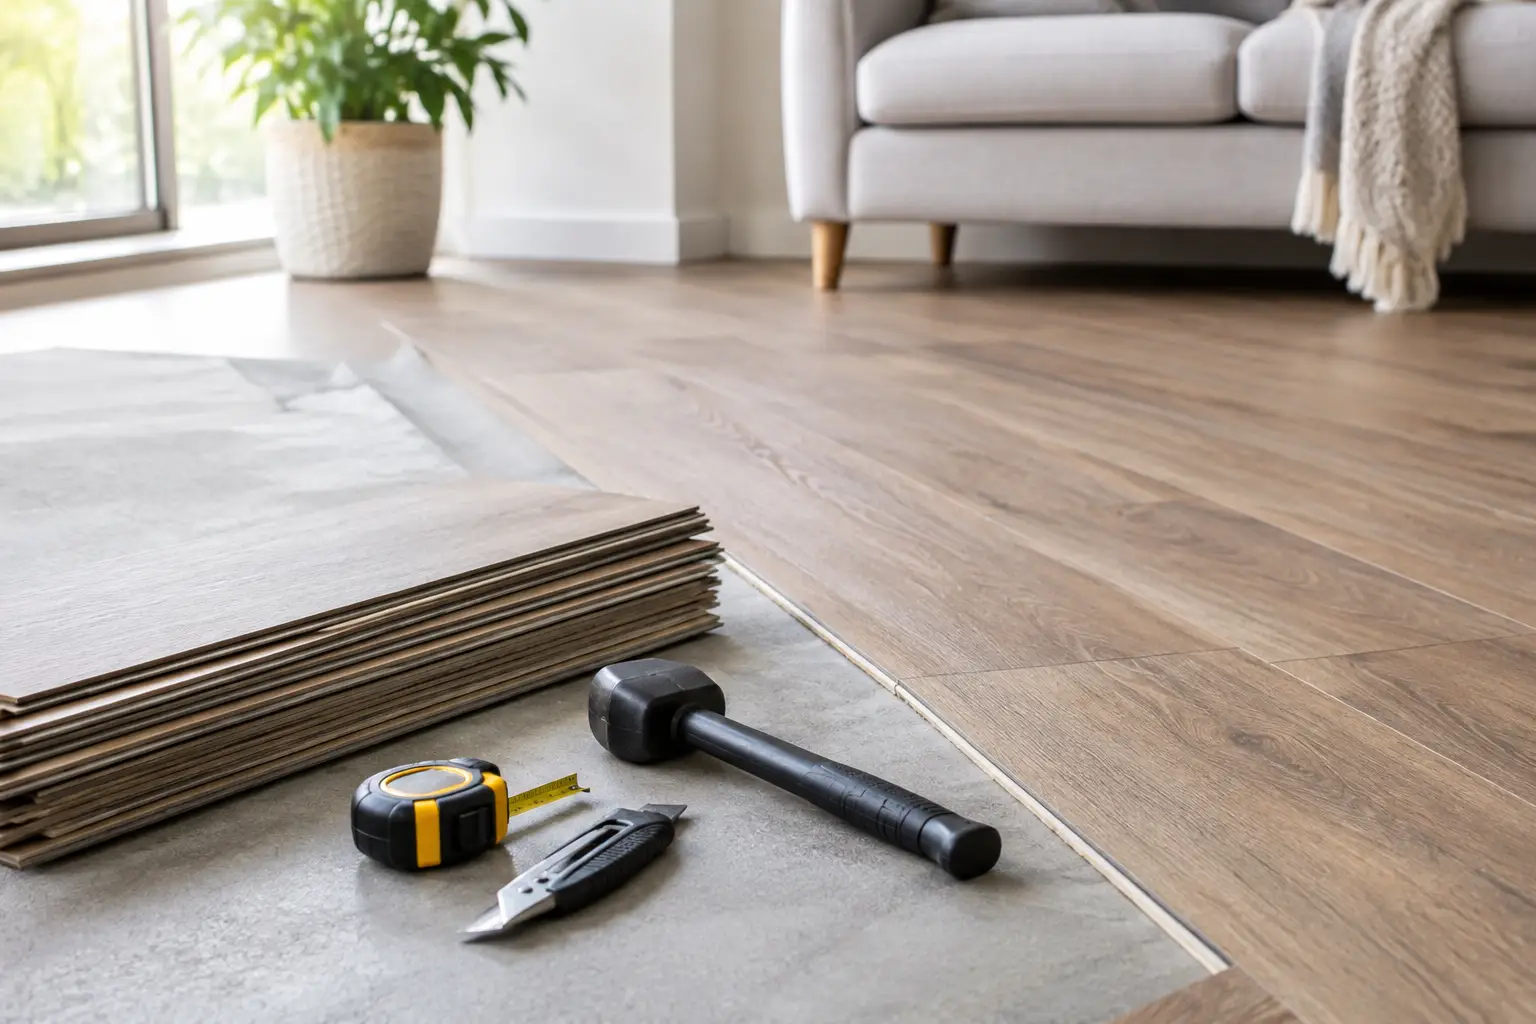
A new LVT floor can make a hallway feel brighter, give a kitchen a clean new look or bring a calm, wood-effect finish to a living space. The best results begin before the first plank is laid. This LVT installation checklist helps you prepare your home, ask the right questions and avoid the small surprises that can hold up fitting day.
Luxury vinyl tile is designed to be practical, but it is not a cover-up for every issue underneath. A good fitting starts with measuring the room properly, checking the subfloor and choosing a style that works with how your household actually lives. That is why seeing samples at home, beside your cupboards, paint colours and natural light, makes such a difference.
LVT installation checklist: before you book
Start by thinking beyond the square metres. Which room are you updating, how much foot traffic does it get, and what sits either side of it? A busy Norfolk family kitchen needs a different approach from a quiet bedroom, while an entrance hall may need a finish that is especially forgiving of muddy shoes and daily comings and goings.
LVT comes in plenty of wood-effect and stone-effect designs, so you can create the look you want without choosing a natural material that may need more maintenance. The choice between plank, tile or herringbone is partly about style, but room shape matters too. Long planks can make a narrow room feel more open, while a tile design can suit a kitchen or utility space beautifully.
Before committing to a colour, view a few samples in the actual room. Daylight changes through the day, and warm bulbs can make one oak tone look quite different from another. Hold samples against cabinets, sofas and painted walls rather than relying on a small image on a screen. It is a simple step, but it can prevent a costly second thought later.
Confirm the fitting method
Not all LVT is fitted in the same way. Glue-down LVT is adhered directly to a carefully prepared subfloor, creating a stable, low-profile finish. Click LVT locks together and can be a useful option where the product and existing floor conditions allow it. Each has benefits, and the right choice depends on the room, subfloor, threshold heights and the manufacturer’s guidance.
This is one reason a proper home measure is worth having. A fitter can check whether doors will need adjusting, whether adjacent flooring levels work together and where neat transitions are needed. It is far better to spot these details before materials arrive than on the morning of installation.
Check the subfloor, not just the surface
The condition below your new LVT matters more than most people expect. LVT follows the contours of what is underneath it. If the subfloor is uneven, cracked, damp or poorly bonded, those imperfections can affect the finished appearance and long-term performance.
A professional assessment will look at whether the base is sound, dry and sufficiently smooth. In some homes, a smoothing compound may be needed to create the right surface. In others, old flooring may need removing first. Existing tiles, floorboards and concrete all need their own consideration, so there is no one-size-fits-all answer.
Moisture is particularly important on ground floors and in older properties. A floor can look dry but still hold moisture that affects adhesive or the floor covering over time. If testing or extra preparation is required, treat it as a worthwhile part of getting the job done properly, not an optional add-on.
If you have underfloor heating, mention it at the measuring stage. Many LVT products are compatible with underfloor heating when installed correctly, but temperature limits and warm-up procedures must be followed. The heating is normally turned off before fitting and brought back up gradually afterwards, following the product guidance.
Prepare the room for fitting day
A clear room allows the installer to work accurately and safely. Move smaller furniture, ornaments and breakables out in advance, and make a plan for larger pieces. Some customers prefer to arrange this themselves; others ask what help may be available as part of the fitting service. Clarify this early, especially for heavy appliances or fitted units.
You should also make sure there is a clear route from the entrance to the room. Fitters need space to bring in materials, tools and any subfloor-preparation equipment. Keep children and pets away from the work area on the day, both for safety and to give the installation the uninterrupted time it needs.
For glue-down LVT, the room may need to remain clear while preparation materials cure or adhesive sets. The timing varies with the product, room conditions and the work involved. Your fitter should explain when the floor can be walked on and when furniture can safely go back. Rushing this stage can mark a new floor before you have had the chance to enjoy it.
Decide what happens at the edges
The finishing details give LVT a fitted, intentional look. Think about skirting boards, door frames, thresholds and the point where your new floor meets another room. Sometimes existing skirting can stay in place with neat finishing trims. In other rooms, removing and refitting skirting creates the cleanest result. It depends on the look you want and the condition of the room.
Door clearance should be checked too. LVT is relatively slim, but preparation layers and the chosen fitting method can alter finished floor height. A door that catches after fitting is frustrating, yet usually avoidable with an early check.
Confirm the plan before work begins
A clear quotation should set out the flooring selected, the area being fitted and the preparation work included. Ask about anything that is not obvious from the room itself, such as removal of existing flooring, moving appliances, disposal, trimming doors or extra levelling. Transparent answers make it easier to compare options and keep your budget under control.
It is also sensible to confirm the layout. With plank LVT, the direction of the boards changes the feel of a room. Many people run planks along the length of a room or towards the main source of light, but there are exceptions. A home consultation lets you talk through the effect with the room in front of you, rather than trying to picture it in a showroom aisle.
If you are refreshing more than one room, consider whether you want the same design throughout or a complementary change between spaces. Continuity can make smaller homes feel more connected, while a different stone-effect finish in a kitchen can define the area without creating a harsh break.
What professional fitting should include
Professional LVT fitting is not simply a case of cutting boards to size. It is careful measuring, sensible planning and precise work around walls, doorways and fixed features. The installer will check the room, prepare the surface as agreed, set out the design and make accurate cuts so the floor sits neatly where it should.
There will be practical decisions along the way. A slightly uneven old wall, an awkward radiator pipe or a tight doorway may require an adjustment to achieve the best visual result. This is where experience counts. A good fitter will explain any issue plainly and recommend a solution that protects both the appearance and the life of the floor.
At Cosy Carpets & Flooring, a free home visit means these conversations can happen before installation, with samples and measurements taken in the space that matters. It keeps the process straightforward: choose with confidence, receive a clear quote, then let the fitting be handled properly.
After your LVT floor is fitted
Once the fitter confirms it is ready for use, protect the surface from avoidable scuffs. Use suitable pads beneath furniture legs, lift heavy furniture rather than dragging it, and deal with spills promptly. Regular sweeping or vacuuming with an appropriate hard-floor setting removes grit that can dull the finish over time.
Use cleaning products recommended for LVT and avoid soaking the floor. More water is not better, particularly around joins and edges. A lightly damp mop and a sensible cleaning routine are usually all that is needed to keep it looking fresh.
Keep any spare planks or tiles somewhere dry and safe. They can be useful if a future repair is ever needed, and they give you the best chance of matching the original batch and finish.
Your final check is simple: the floor should look right in your room, feel secure underfoot and have a finish you are happy to live with every day. Take a few minutes with your fitter before they leave, ask any aftercare questions you have, and then get cosy while your new floor does the hard work.